How to Build a Plastic Recycling Heat Press for Less Than $300 USD

How to Build a Plastic Recycling Heat Press for Less Than $300 USD

        Polyethylene wrappers and bags are found everywhere. This heat press is a very effective – very fast and low cost to convert those trash plastic bags and wrappers into a panel. The panel can be formed and crafted into many different products! Make a chair, a table, a sign, a pickleball paddle holder, a fence post, a tray, a trash can large or small. The only limit you have is your imagination.

heat press
Plastic Heat Press with its 3D Animated Design [Right]

Supplies

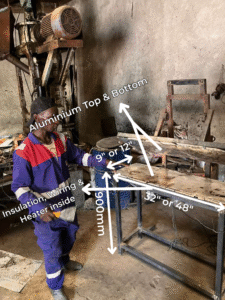
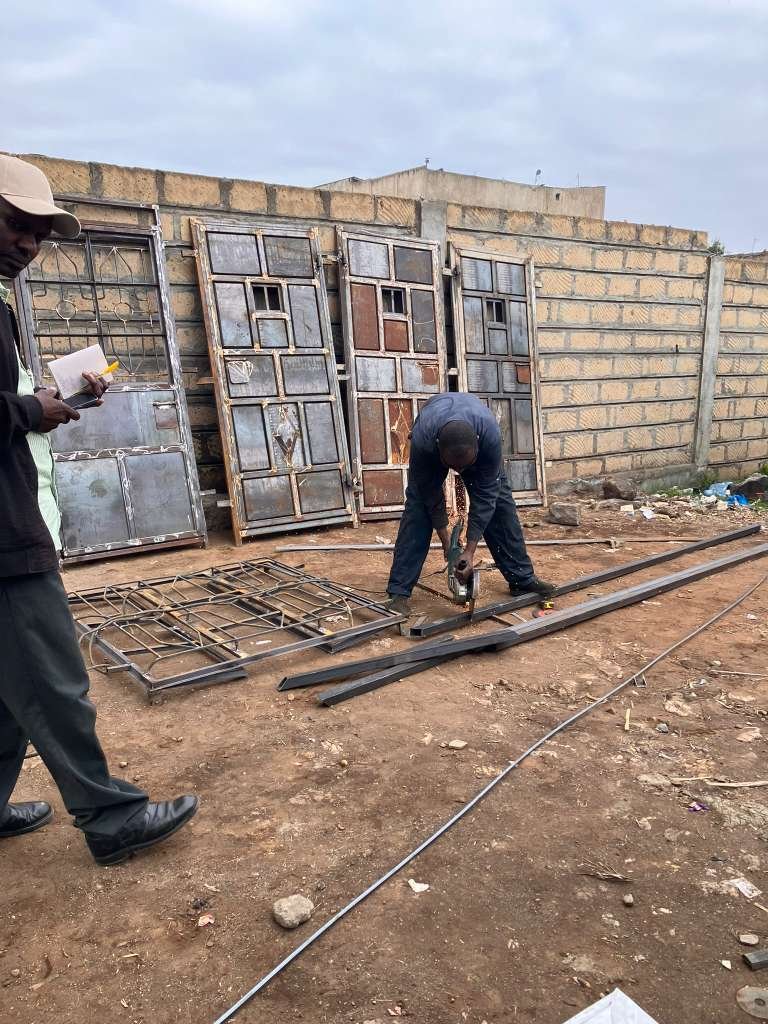
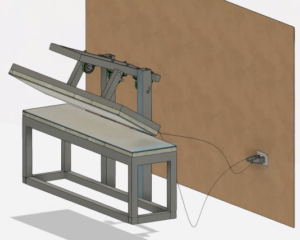
  • Metal for the frame (angle iron, square tube, or round tube)

  • Aluminum plate (minimum 3 mm thick at the heating area)

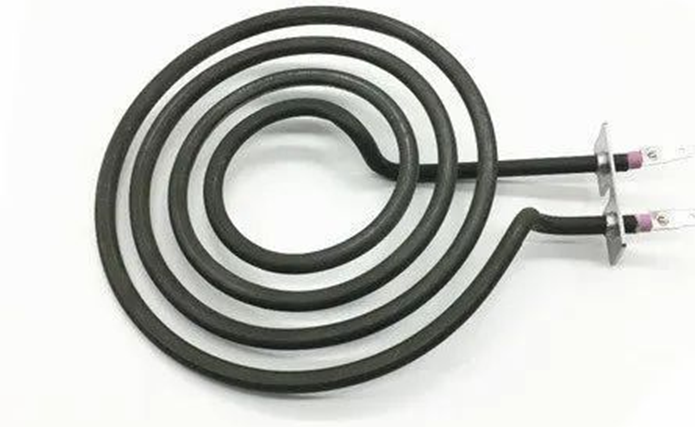
  • Heating elements (oven or cooker coils — 2 for the top, 2 for the bottom)

  • Ceramic high-temperature insulation (~$30 USD)

  • Oven/cooker thermostats and knobs (1 for top, 1 for bottom, ~$8 each)

  • Fiberglass high-temperature wire insulation

  • Wires for 110v or 220v power connection

  • Hinges (strong, able to hold press open)

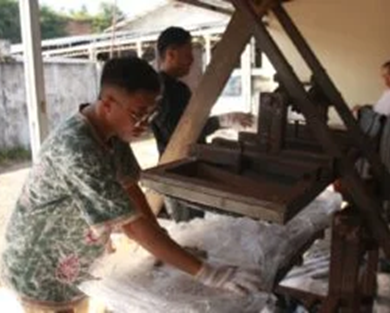
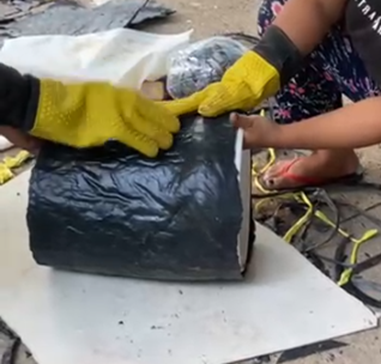
  • Teflon sheet or cooking oil (to prevent plastic sticking)

Step 1: Decide the Size and Layout

  • Common WasteFree23.org sizes: 9 × 32 inches and 12 × 48 inches.
  • Pick a hinge style: A hinge is recommended so the press opens easily and stays open — letting you use both hands to load/unload plastic.

  • Allow for a stack of plastic up to 8 inches thick to be pressed evenly.

  • Build to a working height of 900 mm so it’s comfortable for long use.

💡 Tip: Add a simple latch or balance weight if your hinge doesn’t stay open by itself.

Step 2: Build the Heating Plates

Aluminium Plate with Insulation, Wiring, and Coil Inside
Heating Coil
Aluminum Plate Separated From Steel Plate
  • Use 3 mm or thicker aluminum plates for both top and bottom surfaces.

  • Aluminum must be separated from the steel frame (e.g., with ceramic spacers) to conserve energy and reduce heat loss. This can save you nearly $100 USD in power costs over time.

  • Aluminum doesn’t need to be one continuous sheet — multiple pieces conduct heat well.

  • Bend and attach two oven/cooker coils for the top and two for the bottom. These are cheap (~$3 each), but fragile, so design the mount so coils can be replaced easily.

Step 3: Build the Frame

Starting building the frame
Building the hinge
  • Any steel tubing works; extreme strength is not required because only light pressure is needed.

  • Construct top and bottom frames to hold the aluminum + heating units securely.

  • Mount the hinge so the press opens smoothly and locks open for safety and usability.

Step 4: Wiring and Insulation

heat press

Step 6: Operation

heat pressing the stacked plastics
putting stacked plastics on heated heat press
Molding Process
best trash bin from manado
  • Preheat to 160 °C.

  • Load plastic sheets or flakes between two Teflon sheets.

  • Close the press and heat both top and bottom. With both sides heated, bonding time drops from 15 minutes to about 5 minutes for 2 kg of plastic.

  • Remove and cool under weight or form into your desired product.