Home / How To Make Fabric Book Covers from Fabric Waste
How To Make Fabric Book Covers from Fabric Waste
How To Make Fabric Book Covers from Fabric Waste
Creative Textile Recycling to Repurpose & Reduce Waste
If you’re looking for a fun and easy way to upcycle old fabrics, making no-sew fabric book covers is the perfect project! Instead of throwing away unused textiles, why not repurpose them into something creative and useful? It’s easy to do, adds a beautiful touch to your books, and keeps fabric out of landfills!
Materials
Fabric: Choose a medium-weight fabric that you like (such as cotton or linen). This could be a fabric remnant or scrap but should be heavy enough so you can’t see through it but not too thick to handle easily.
Sharp Fabric Scissors: You’ll need these to cut the fabric.
Tape Measure: For measuring your book and fabric correctly.
Fusible Tape: This is a no-sew adhesive that works with heat and pressure to bond fabrics together.
Iron & Ironing Board: You’ll use these to press the fabric into place.
Damp Cloth: This helps activate the fusible tape when bonding.
Instructions
Step 1: Measure Your Book and Cut the Fabric
Measure the height of your book (from top to bottom when it’s closed).
Measure the width of your book (across from one edge to the other when it’s closed).
Add extra fabric:
Add 1 ½” to the height measurement (this extra length will allow you to fold over the edges and create a neat finish).
Add 8” to the width measurement (this gives you enough fabric to wrap around the book).
Cut the fabric to these measurements using your sharp scissors. Make sure your cuts are straight!
Step 2: Iron the Edges of the Fabric
Lay your fabric on the ironing board with the unfinished side (the side that will be on the inside of the cover) facing up.
Fold the top and bottom edges of the fabric over by ¾”. This creates a neat edge and prevents fraying.
Iron the folds to press them flat. You want a smooth, crisp edge that will hold in place when you add fusible tape.
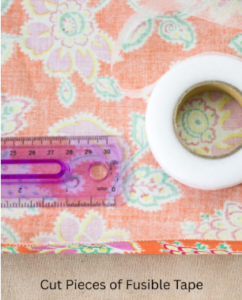
Step 3: Bond the Edges with Fusible Tape
Cut pieces of fusible tape: You’ll need a piece that’s 8” shorter than the fabric length. For example, if your fabric is 19” long, cut your fusible tape to be 11” long.
Place the fusible tape: Lay a strip of fusible tape under one of your fabric folds, starting 4” in from each end. The fusible tape should be positioned inside the fabric fold, not sticking out.
Activate the adhesive: Place a damp cloth on top of the fold, where the fusible tape is placed. Press down with the iron on the wool setting for about 20 seconds. The heat will bond the fabric and fusible tape together.
Repeat for the other edge: Now, fold the bottom edge of the fabric and bond it the same way using fusible tape and the iron.
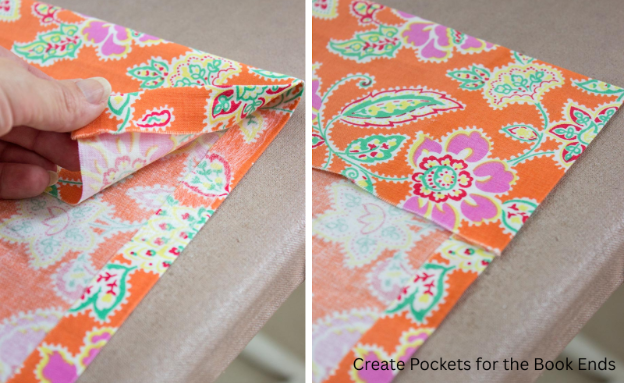
Step 4: Create Pockets for the Book End
Fold over the ends of the fabric by 4” on both sides. These folds will form the pockets that hold your book in place.
Insert: Place a piece of fusion tape inside each fold (you’ll need 4 pieces: two on each side of the fabric). Position the fusion tape at the top and bottom of each fold (about 4” from the edge).
Bond with the iron: Use the same process as before, with a damp cloth and iron, to bond the folds and secure the pockets in place.
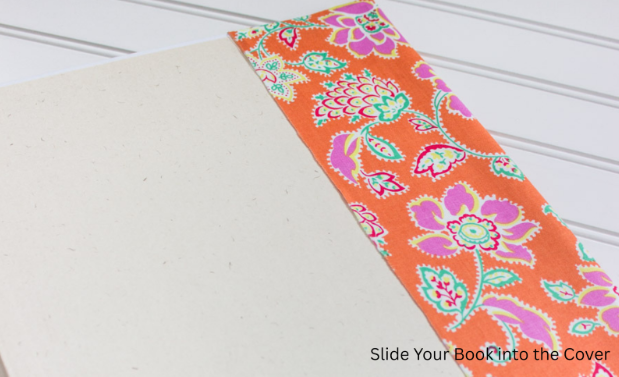
Step 5: Slide Your Book into the Cover
Now that the fabric is bonded together and the pockets are ready, slide your book into the fabric cover, tucking the ends into the pockets you created.
The book should fit snugly, and the fabric will hold in place, providing a stylish, removable cover.