Home / How to Make a Rain Gutter from Recycled Plastic Using a Heat Press
How to Make a Rain Gutter from Recycled Plastic Using a Heat Press
How to Make a Rain Gutter from Recycled Plastic Using a Heat Press
At Waste Free ’23, we empower changemakers to upcycle plastic waste into durable, market-ready products. One simple and impactful item you can make is a rain gutter made entirely from recycled plastic.
Follow these steps to turn waste into a functional product that supports a circular economy. Find the attached videos for the video tutorial.
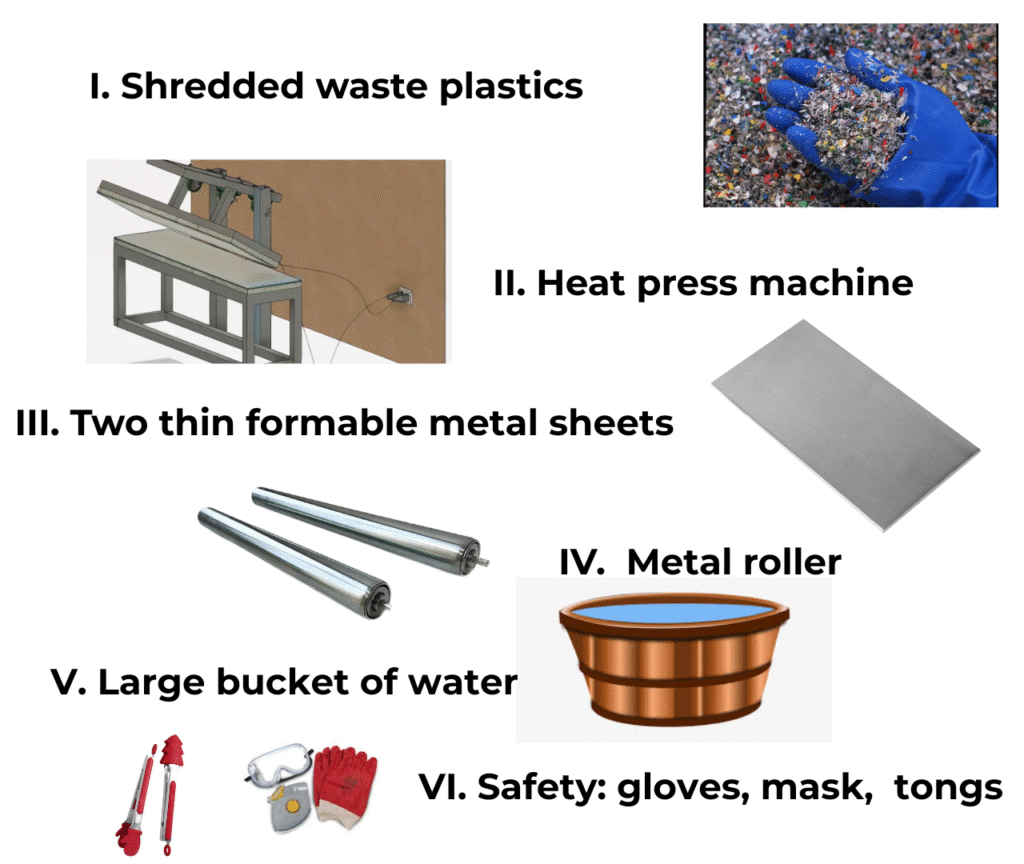
Materials and Equipment
Shredded waste plastics (HDPE, LDPE, or PP recommended)
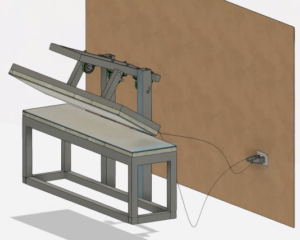
Heat press machine (see how to build one for under $300 here)
Two thin formable metal sheets (SS 304 is ideal)
Heat-resistant gloves and tongs
Metal roller (manual or weighted)
Large bucket of water
Safety gear: gloves, mask, goggles, tongs
Step-by-Step Process
Step 1: Shred the Plastics
Feed your collected plastics into a plastic shredder to reduce them into small flakes or chips. If you do not have a shredder, you can manually cut the plastic into small pieces using scissors. Try to keep the pieces uniform for even melting.
Step 2: Prepare the Heat Press Machine
Turn on your heat press and preheat it to the melting point of your selected plastic type, usually between 160°C and 200°C. If you need to build your own machine, follow our open-source guide at Waste Free ’23 Heat Press Build.
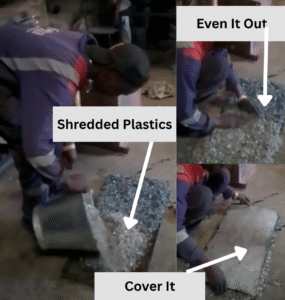
Step 3: Create the Plastic and Metal Sandwich
Place one metal sheet on your work surface.
Evenly spread the shredded plastic pieces on top.
Cover with the second metal sheet to form a plastic sandwich.
Thin, bendable metal sheets such as stainless steel grade 304 work best for shaping later.
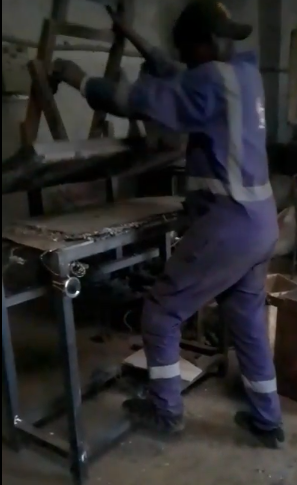
Step 4: Press and Melt
Insert the metal-plastic sandwich between the plates of the heat press. Apply firm and even pressure. Maintain this for several minutes until the plastic melts and fuses together. Check occasionally to make sure melting is uniform.
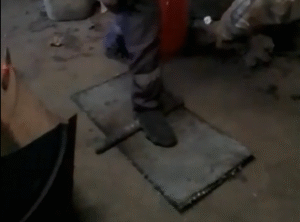
Step 5: Flatten the Melted Sheet
After melting, use tongs to carefully remove the hot sheet. Place it on a flat surface and roll it with a metal roller to achieve a consistent thickness and smooth surface.
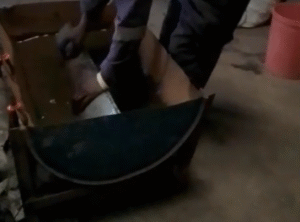
Step 6: Shape and Cool
While the sheet is still warm, submerge it partly in cold water so it remains flexible but starts to cool. Use tongs to bend it into the shape of a rain gutter, typically a U or V profile. Cooling helps the polymer recrystallize, giving it strength and durability.
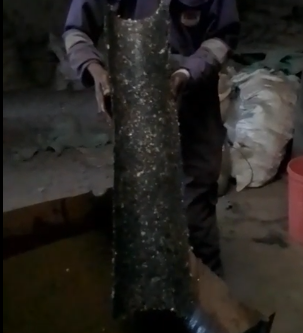
Step 7: Final Cooling and Finish
Allow the gutter to cool completely either in water or at room temperature. Once it hardens, remove the metal sheets. You now have a sturdy, weather-resistant rain gutter made entirely from recycled plastic.
Results and Benefits
Your finished rain gutter is durable, corrosion-resistant, and fully weatherproof. It can be used for homes, schools, and other infrastructure while helping reduce plastic waste and promoting circular production.